
A Step-by-Step Guide to DIY Windshield Crack Repair
20443646 - glazier repairing windshield on a car after stone-chipping damage
Windshield cracks are more than just an inconvenience—they can compromise your vehicle’s safety. While some cracks may require professional attention, smaller ones can often be repaired at home using a DIY kit. This guide will walk you through the process of repairing a windshield crack yourself, helping you save time and money.
Step 1: Assess the Damage
Before starting the repair process, evaluate the size and type of the crack. Small chips and cracks that are less than 6 inches long are typically suitable for DIY repair. If the crack is larger or extends into your field of vision, consider scheduling a professional windshield replacement in Chandler.
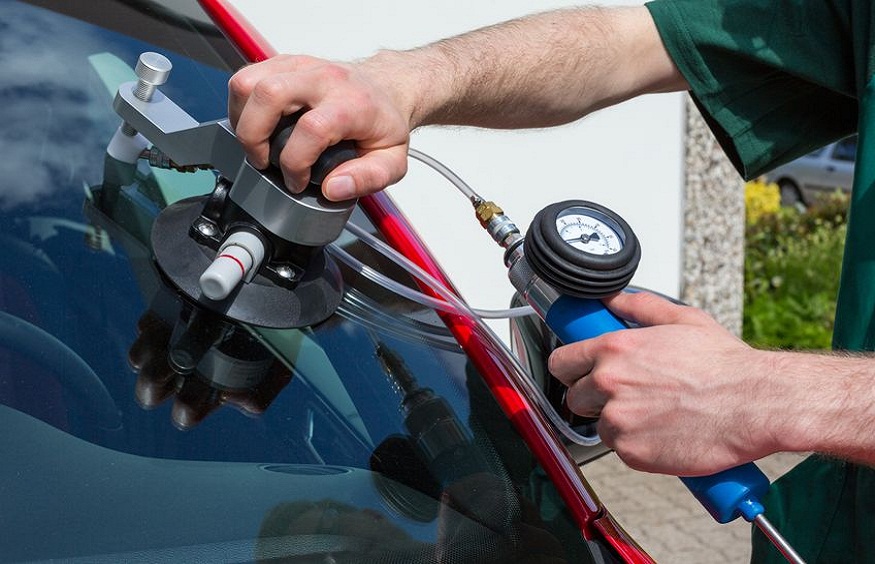
Step 2: Gather Your Materials
To perform a DIY windshield crack repair, you’ll need the following materials:
- A windshield repair kit (usually includes resin, an applicator, and a curing strip)
- A clean cloth or paper towels
- A razor blade or utility knife
- Isopropyl alcohol for cleaning
Step 3: Clean the Area
Start by cleaning the area around the crack with isopropyl alcohol to remove any dirt and debris. Use a clean cloth or paper towels to ensure the surface is completely dry before proceeding. Any remaining particles can interfere with the repair process.
Step 4: Prepare the Crack
Use a razor blade or utility knife to gently remove any loose glass or debris from the crack. Be careful not to create further damage. The goal is to create a clean surface for the resin to adhere to.
Step 5: Apply the Resin
Follow the instructions provided with your repair kit. Typically, you’ll place the applicator over the crack and apply the resin. Ensure the resin fills the entire crack. Avoid over-applying, as this can lead to a messy finish.
Step 6: Remove Air Bubbles
Use the provided tool to push out any air bubbles trapped in the resin. This step is crucial for ensuring a clear and effective repair. Gently press and release the tool over the crack to remove bubbles.
Step 7: Cure the Resin
Once the resin is applied and bubbles are removed, cover the crack with the curing strip provided in the kit. Allow the resin to cure as per the instructions, usually under sunlight for about 15 to 30 minutes.
Step 8: Finish Up
After the resin has cured, carefully remove the curing strip and use a razor blade to scrape off any excess resin. Clean the area with a cloth to remove any residue.
Step 9: Inspect the Repair
Check the repaired area to ensure the crack is filled and there are no remaining bubbles. The repair should be nearly invisible and restore the structural integrity of your windshield.
Conclusion
DIY windshield crack repair can be a cost-effective solution for minor damage, but it’s essential to know your limits. For larger cracks or if you’re unsure about the repair process, it’s wise to consult a professional. If your windshield damage is beyond repair, consider contacting a service for windshield replacement in Chandler.
By following these steps, you can effectively address minor windshield cracks and maintain the safety and clarity of your vehicle’s glass.