The Complete UK MOT Prep Checklist: What To Check Before You Book
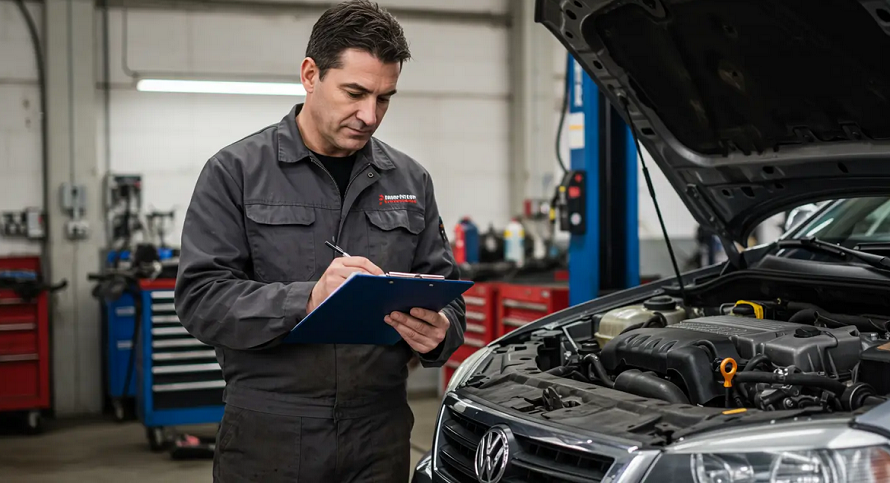
Every year, millions of UK drivers approach their MOT date with a mix of routine and quiet dread. The test itself takes less than an hour, but the outcome depends entirely on the condition of the car in the weeks beforehand. A surprisingly large number of failures come down to small, preventable issues: a blown bulb, a worn wiper blade, a tyre sitting just below the legal tread limit. None of these require a mechanic’s training to spot, and fixing them before the test can save both the retest fee and the inconvenience of being without a car for a few days. This guide walks through the areas worth checking at home, the kit that makes the job easier, and when it is sensible to leave things to a professional instead.
Start With the Basics: Lights, Tyres and Fluids
Before anything else, walk around the car with the engine running and check every light works: headlights on both settings, indicators, brake lights, reversing light and the number plate light, which is one of the most commonly missed failure points. Ask someone to stand behind the car while you press the brake pedal, since it is impossible to see your own brake lights from the driver’s seat. Then move on to the tyres. The legal minimum tread depth is 1.6mm, but 3mm gives noticeably better grip in the wet, so it is worth checking now rather than waiting for the tester to flag it. Look along each sidewall for cracking, bulging or embedded stones, and check pressures against the figures in the handbook rather than guessing. Fluids take only a few more minutes: oil level and colour, coolant level when the engine is cold, washer fluid topped up, and brake fluid visible through the reservoir markings. For drivers who like to stay on top of this themselves rather than relying on a petrol station air pump, a well-stocked car maintenance kit takes the guesswork out of checking levels and pressures accurately.
Brakes, Steering and Suspension: What a Tester Actually Checks
On the test itself, the tester will put the car on a ramp or in a pit to inspect discs, pads and pipework, and will listen for grinding or scraping when the brakes are applied. You can do a simplified version of this check yourself before booking. Listen for any grinding or high-pitched squealing when braking gently at low speed, and check that the handbrake holds the car firmly on even a gentle slope. A vibration through the steering wheel at speed often points to a wheel balance issue, while a car that bounces excessively after going over a speed bump may have a tired shock absorber. For anyone keen to look underneath without lying flat on bare ground, a proper set of axle stands and a trolley jack makes the inspection far safer and considerably more comfortable than improvising with whatever is in the garage.
The Pre-Test Valet: Why a Clean Car Helps More Than You’d Think
It sounds trivial, but a dirty car genuinely costs people MOT passes. The tester needs a clear view of the VIN plate, the windscreen needs to be free of chips that grime can otherwise hide, and the number plates must be legible front and back, since an illegible plate is an automatic fail. Caked-on mud around wheel arches can also mask the very corrosion or damage the tester is looking for, leading to a more cautious, longer inspection than necessary. Giving the car a proper clean before the test, inside and out, with particular attention to glass, washer jets, lights and plates, takes about half an hour and removes one more excuse for an advisory note. A thorough valet kit from the car cleaning range covers glass cleaner, a decent chamois and the small brushes needed to get into number plate recesses and light clusters properly.
Understanding Fault Categories: Dangerous, Major and Minor
Since 2018, every MOT fault has been graded as dangerous, major or minor, and understanding the difference helps explain why two cars with seemingly similar problems can leave the test centre with very different outcomes. A dangerous fault means the car should not be driven at all until it is fixed, and will fail the test outright, examples include a brake that barely works or a tyre with a visible wire showing through the tread. A major fault also fails the test but does not carry the same immediate driving ban, while a minor fault, such as a slightly clouded headlight lens, is simply noted and does not affect the pass itself. Knowing this distinction in advance helps you prioritise which issues genuinely need fixing before the appointment and which can reasonably wait, rather than spending a weekend chasing every tiny cosmetic mark on the car.
It is also worth remembering that a fail does not mean starting from scratch. If the car fails and is left at the same test centre for repair, a free retest is often available within ten working days, and even if it leaves the premises, many centres offer a reduced partial retest fee covering just the failed items, provided it returns within that same window. Keeping the original test certificate and asking the garage directly about their retest policy before paying for repairs elsewhere can save a meaningful amount of money, particularly if only one or two items need attention.
Small Jobs Worth Doing Yourself Before You Book
Beyond the big checks, a handful of small jobs are genuinely worth doing the weekend before your test: replacing tired wiper blades, topping up washer fluid with a proper additive rather than plain water in winter, checking the horn works, and making sure number plate screws are tight rather than rattling loose. A basic multimeter is useful for confirming a dead bulb is actually a bulb and not a fuse or earth fault, which saves an unnecessary trip to the parts counter. While you are under the bonnet, it is also worth checking that your hi-vis vest, warning triangle and first aid kit are still in the boot and still in date, since a proper safety and PPE kit is not an official MOT item but is exactly the sort of thing a diligent tester notices is missing, and it is a genuinely sensible thing to carry regardless.
When to Leave It to a Professional
Some checks are best left to a garage: brake fluid moisture content, exhaust emissions, and anything involving the underside of the car on a proper ramp rather than axle stands on the drive. If your car has an advisory from the previous year that was never addressed, or a warning light that has started appearing, book a pre-MOT check with a garage a week or two before the test itself. That buffer gives enough time to source parts and fix genuine faults without the pressure, and expense, of a same-day retest. Treat the MOT as the final checkpoint of maintenance you do all year round, not a one-off scramble, and it stops being something to dread at all.
Taken together, these checks turn the MOT from an annual gamble into a routine confirmation that the car is in the condition its owner already believed it to be. Keeping a simple note of what was checked, replaced or topped up, and when, also makes next year’s preparation quicker and gives a garage useful context if a fault does appear between tests.